How to create custom icons for Social Media Widget
Do you want to customise your “Follow Us” icons that are displayed on your WordPress website? It’s a little tricky, but here’s the steps we took to create our own custom social media widget icons.
Custom Icons for WordPress plugin Social Media Widget
Uploading your custom Social Media Widget icons
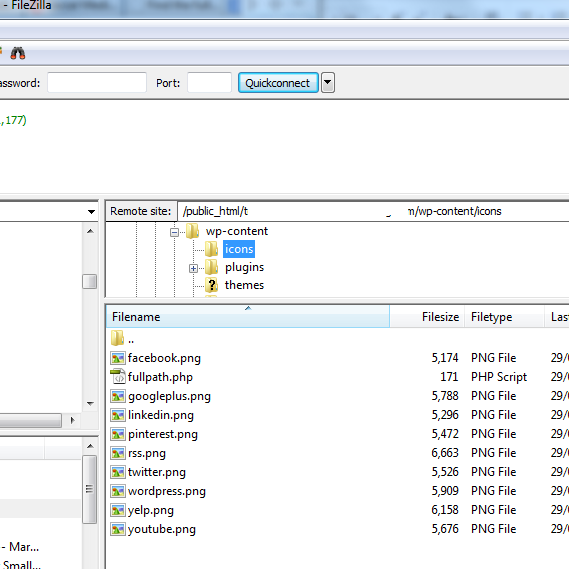
1. Login to FTP
2. Create a directory called “icons” in the /public_html/ yourwebsiteurl.com/wp-content/ directory on the webhost.
3. Create images and make sure you save them with exactly the same file name as the images in /public_html/ yourwebsiteurl.com/wp-content/plugins/social-media-widget/images/default
Images must be saved in the same file protocol as the original default icons, here’s a list, but this might change with updates of the plugin.
eg facebook.png; pinterest.png; twitter.png; yelp.png; youtube.png
4. Upload the new images into the “icons” directory you created on the web host.
Find out the full path to your new directory
For this plugin you need to know the full path to the directory that contains your custom icons. To do this create a NOTEPAD document and save it as “fullpath.php” with this code in it, then upload this file into the folder on your web host called “icons”.
<?php
$dir = dirname(__FILE__);
echo “<p>Full path to this dir: ” . $dir . “</p>”;
echo “<p>Full path to a .htpasswd file in this dir: ” . $dir . “/.htpasswd” . “</p>”;
?>
Now you have a directory called “icons” with all your custom images and the “fullpath.php” file.
Now visit the URL:-
http:// yourwebsiteurl.com/wp-content/icons/ and click on the “fullpath.php” link
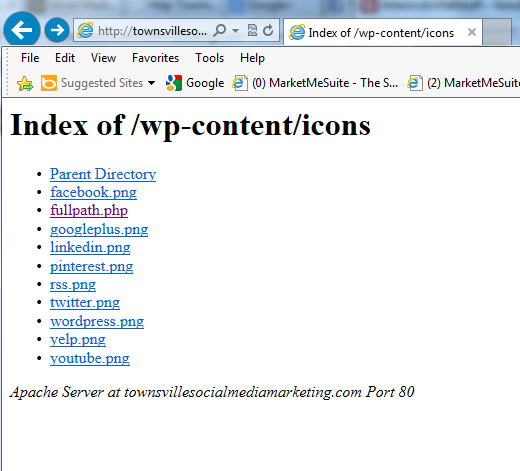
This will display the full path for this directory:-
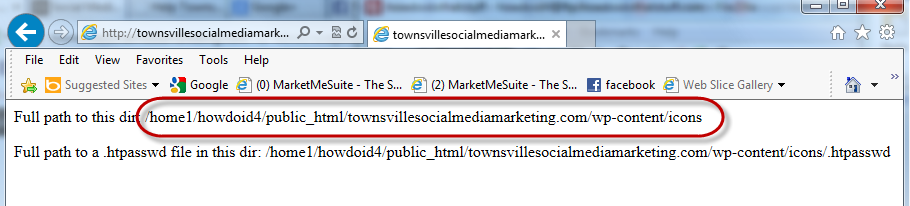
Once you have this path, you can delete this “fullpath.php” file from your web host for security reasons.
Install and customise the Social Media Widget WordPress Pluging
1. Now login to your wp-admin > plugins > add a plugin and find and install the “Social Media Widget” plugin.
2. Next go to Appearance > Widgets and drag the “Social Media Widget” into the widget area. Under General Settings change the “Icon Pack” to “Custom Icons”.
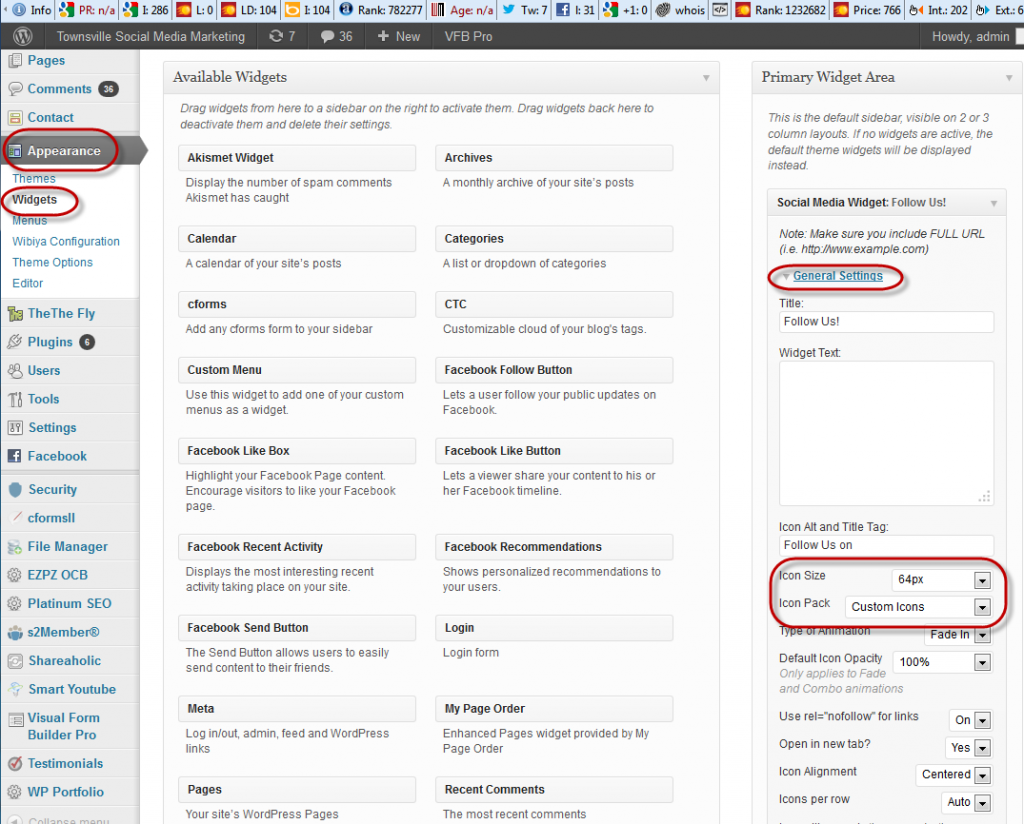
3. Under the following tabs eg “Social Networking”, “Images and Video” etc insert the links to your social media profiles.
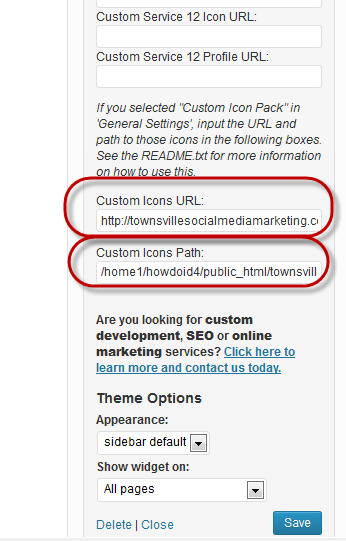
4. Under “Custom Services” insert the Custom Icons URL to the folder containing your custom icons and also insert the Custom Icons Path to the directory that contains the custom icons.
The Custom Icons URL is basically the web address for the folder your custom icons are in, that is the folder you created above called “icons”. It will look something like:- http://yourwebsiteurl.com/wp-content/icons/
The Custom Icons Path is the path you get above from adding the “fullpath.php” file to the directory where you icons are. It will look something like:- /yourhomeid/yourcpanelid/public_html/yourwebsiteurl.com/wp-content/icons/
Test that the custom icons work
View your website and test that all the links to your social media profiles work.

Leave a Reply